Wifi Connection Information
SSID/Network Name: Hyman-Resident
Network Key/Password: 50Walnut
Example:
Connection Instructions
General mobile devices
- Go to your device settings
- Tap Wi-Fi
- Connect to appropriate SSID above
- When prompted, enter the password
- You’re now connected!
Windows 10/11 devices
- Click the network icon in the bottom right-hand corner of your screen
- Connect to appropriate SSID above
- When prompted, enter the password
- You’re now connected!
Mac OSX
- Click the wireless network icon in the top right-hand corner of your screen.
- Connect to appropriate SSID above
- When prompted, enter the password, then click join
- You’re now connected!
There are two ways to accomplish this:
1. Turn off auto-join for a SINGLE SSID
2. Turn off auto-join for ALL SSIDs
You may need to...
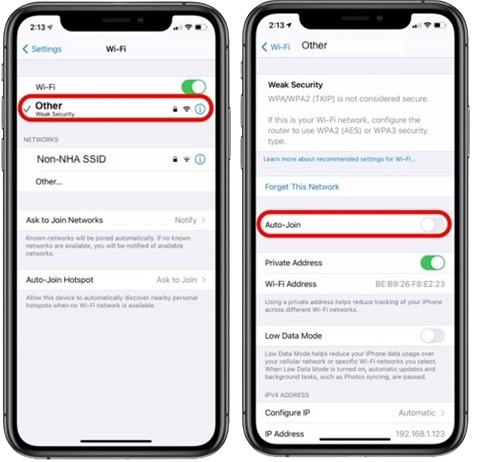
For a SINGLE SSID:
- Open Settings
- Tap Wi-Fi

- Tap the Wi-Fi network you would like to turn off “Auto-Join”
- Tap the selector for “Auto-Join”
- Repeat for all networks you would like to join manually
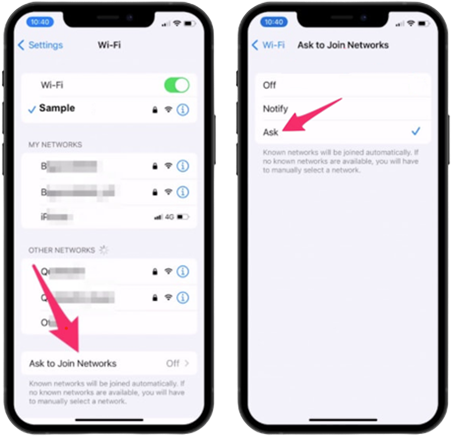
For ALL SSIDs:
- Open Settings
- Tap Wi-Fi
- At the bottom of the screen, tap “Ask to Join Networks”
- Next tap “Off”